Midwest Mary
About Midwest Mary
Books by Mary K. Doyle
Photo Credits
Tag:
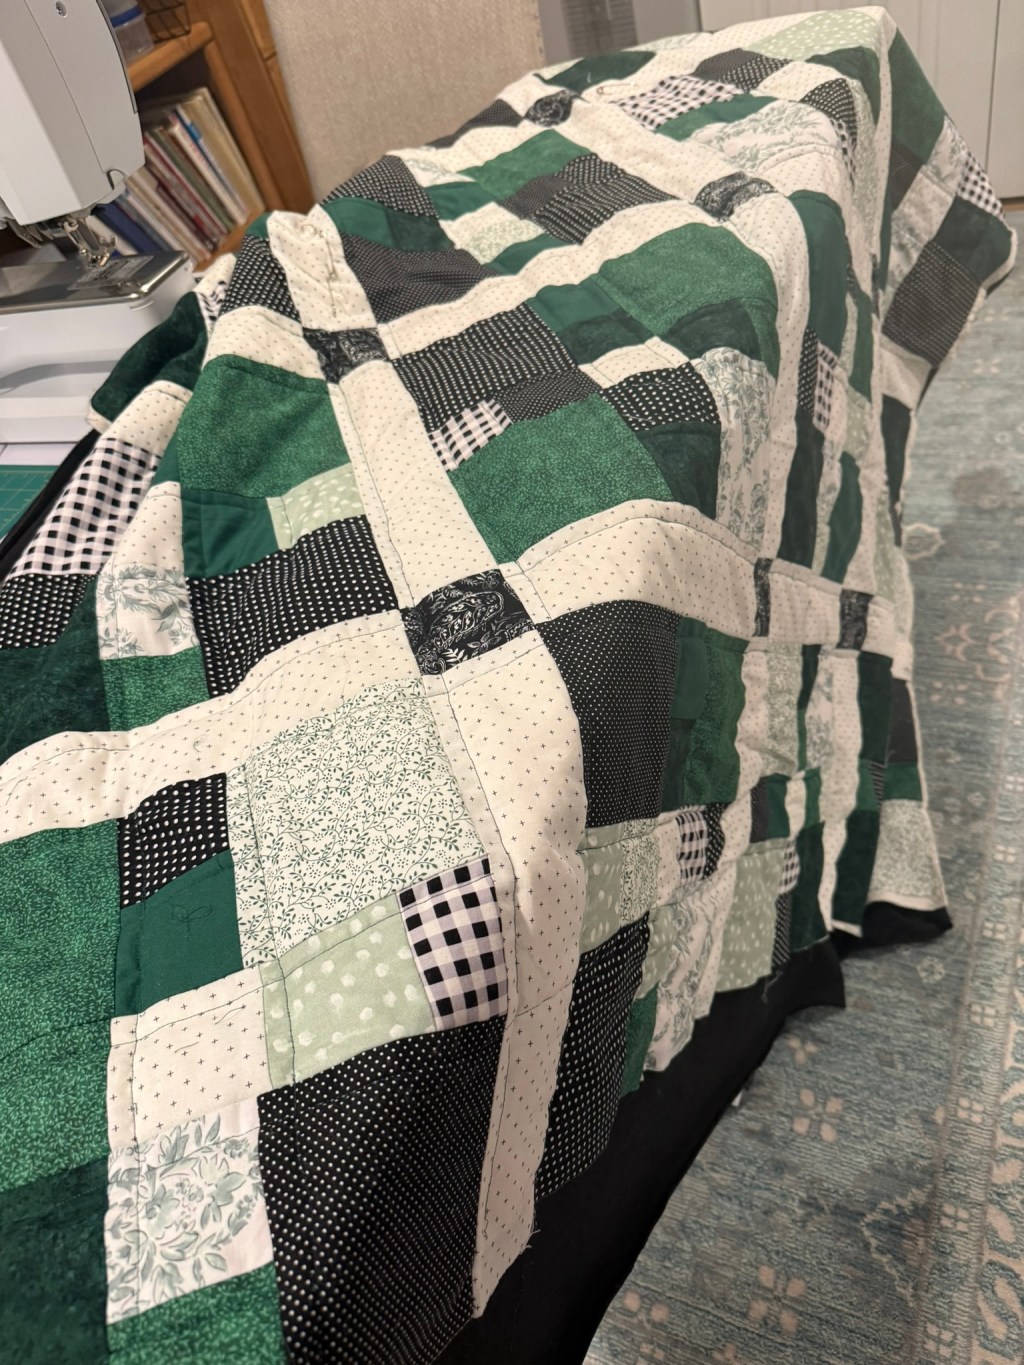
Crafts
Art
,
Everyday Life
D.I.Y.-Why Not?
Culture
,
Entertainment
,
Everyday Life
,
Faith
,
Family
,
History
,
Holiday
,
Midwest
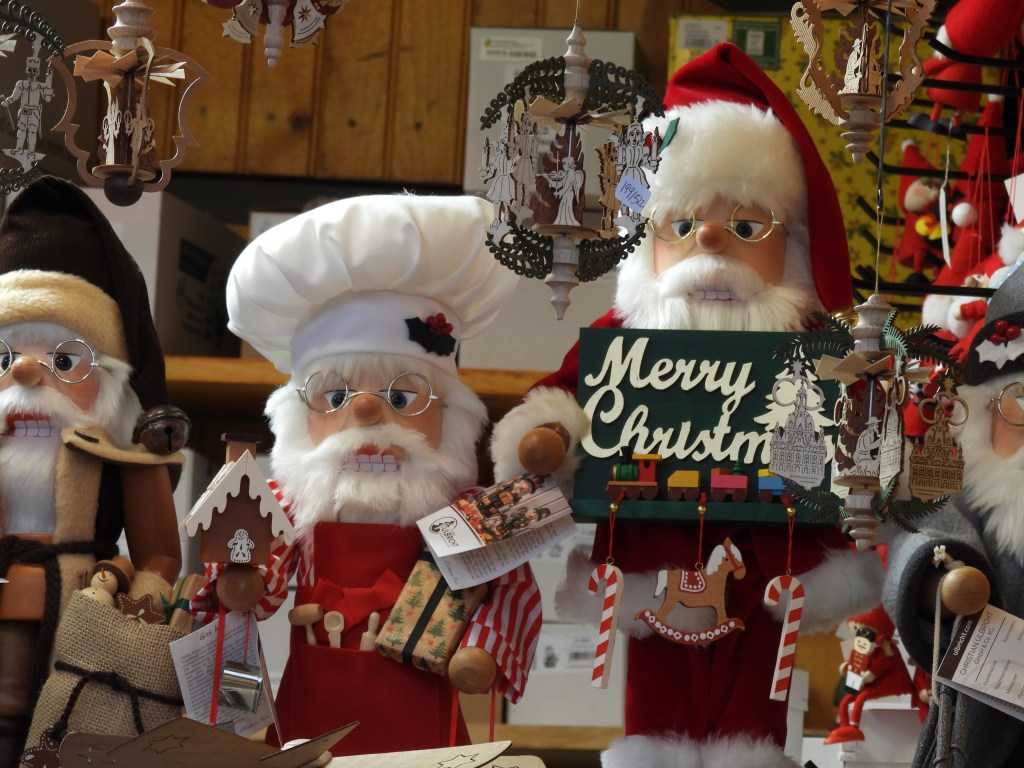
ChristKindleMarkets
Books
,
Everyday Life
,
Family
,
Holiday
,
Poetry
Special Gifts for Special People
Everyday Life
,
Family
,
Health
,
How To
,
Midwest
Mask Attire
Everyday Life
,
Health
,
Home Decor
,
How To
Essential Oil Pendants
Baking
,
Cooking
,
Everyday Life
,
Home Decor
,
How To
,
Recipe
Recipe Art
Subscribe
Subscribed
Midwest Mary
Join 2,539 other subscribers
Sign me up
Already have a WordPress.com account?
Log in now.
Midwest Mary
Subscribe
Subscribed
Sign up
Log in
Report this content
View site in Reader
Manage subscriptions
Collapse this bar