Midwest Mary
About Midwest Mary
Books by Mary K. Doyle
Photo Credits
Tag:
Baking
Baking
,
Culture
,
Entertainment
,
Everyday Life
,
Family
,
Holiday
,
Midwest
,
Recipe
Recipe–Italian Sliced Cookies/Biscotti
Books
,
Cooking
,
Everyday Life
,
Family
,
Gardening
,
Midwest
,
Nature
,
Perspective
,
Recipe
Family Cookbook and Hydroponic Update
Baking
,
Everyday Life
,
Family
,
Recipe
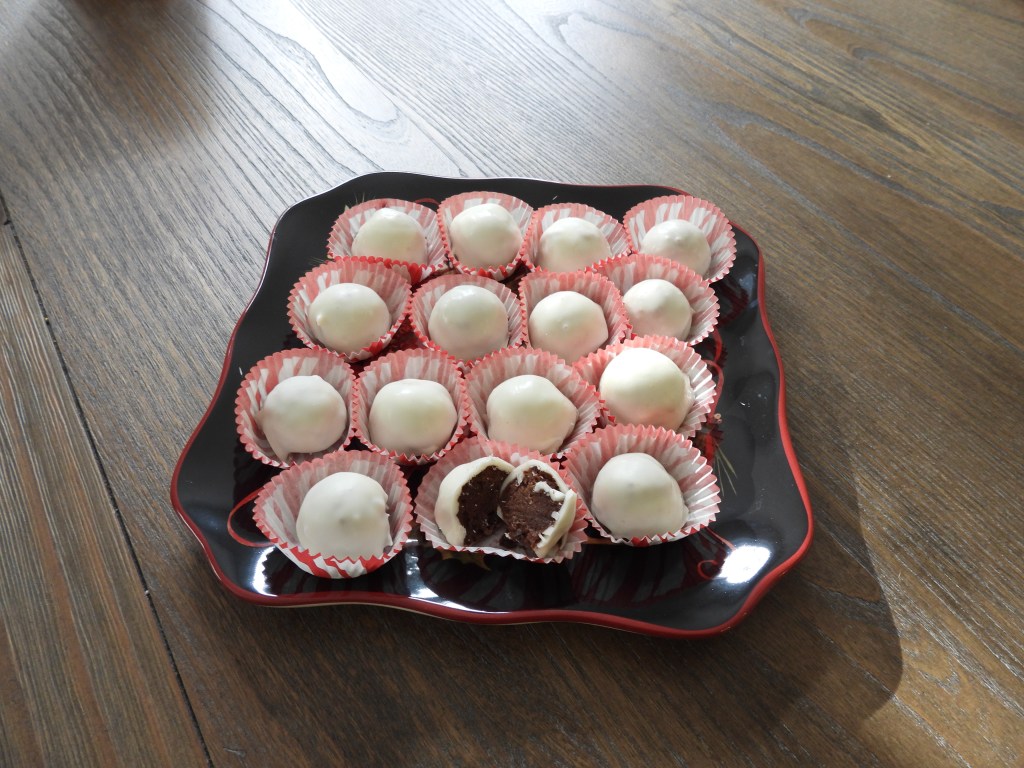
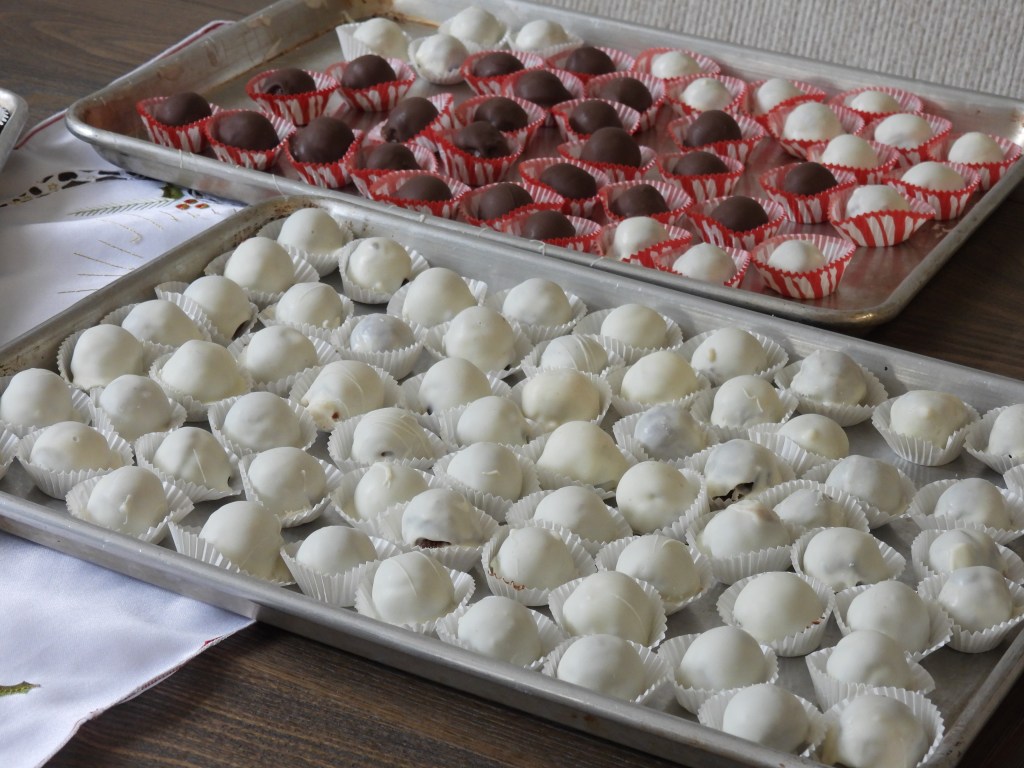
Fudgy, Brownie Balls
Baking
,
Cooking
,
Culture
,
Everyday Life
,
Family
,
Holiday
Holiday Bake-Off
Baking
,
Entertainment
,
Everyday Life
,
Holiday
Christmas Cookies 2023
Baking
,
Everyday Life
,
Recipe
Recipe–Quality Ingredients
Baking
,
Cooking
,
Everyday Life
Jalapeno Popper Pizza
Baking
,
Cooking
,
Everyday Life
,
Family
,
Health
Quick Crisp
Baking
,
Cooking
,
Everyday Life
,
Family
,
Health
,
History
Want Some Bugs with That Cake?
Baking
,
Cooking
,
Everyday Life
,
Family
,
Recreation
Cookie Diet and Exercise Program
Cooking
,
Culture
,
Everyday Life
,
Family
,
Health
Good Enough to Eat?
Baking
,
Cooking
,
Culture
,
Everyday Life
,
Family
,
Gardening
,
Health
,
History
Nutritious Whole Grains
Baking
,
Everyday Life
,
Family
Breakfast or an All-Day Snack
Baking
,
Everyday Life
,
Family
Cinnamon Rolls
Baking
,
Everyday Life
,
Holiday
,
Product Review
,
Recipe
Edible Paper Cookie Decorations
Baking
,
Everyday Life
,
Recipe
It’s Cookie Time
Baking
,
Cooking
,
Everyday Life
,
Recipe
Little Chefs
Baking
,
Everyday Life
,
Holiday
Pat Doyle’s Pizzelles
Cooking
,
Everyday Life
,
Holiday
,
Recipe
Happy Thanksgiving!
Baking
,
Cooking
,
Culture
,
Everyday Life
,
Perspective
,
Recipe
Family Recipes
Baking
,
Cooking
,
Everyday Life
,
Health
,
Product Review
Crazy for Coconut
Baking
,
Everyday Life
,
How To
,
Recipe
Homemade Italian Bread with Herbs
Subscribe
Subscribed
Midwest Mary
Join 2,539 other subscribers
Sign me up
Already have a WordPress.com account?
Log in now.
Midwest Mary
Subscribe
Subscribed
Sign up
Log in
Report this content
View site in Reader
Manage subscriptions
Collapse this bar